Gelatin Printing Adventure
This project is seriously addictive! The process is extremely fun and interactive. And the results are amazing. In other words this is a great introduction to print making for kids - and one that even smaller kids can do and enjoy. First, you make a gelatin plate. This is quite straightforward and basically involves creating a slab of firm gelatin: a process that is fun for older kids to help with. then you have fun applying paint to the plate, and using everyday objects as brushes and stencils to ensure that when you place the paper over the top of the plate to make print, you get fantastic results. Note: don't be put off by the wordy instructions - the procedure is actually very quick and easy once you get the hang of it!
Project Info
| Difficulty | Slightly challenging |
|---|---|
| Duration | 1 hour |
| Age | 5+ |
| Submitted by | |
| Share |
Materials
- A clean, flat-bottom, shallow sided, rectangular container (e.g. baking dish) - see instructions for sizing
- Brayer (Optional but very useful)
- Cardstock
- Gelatin Powder - see instructions for amounts
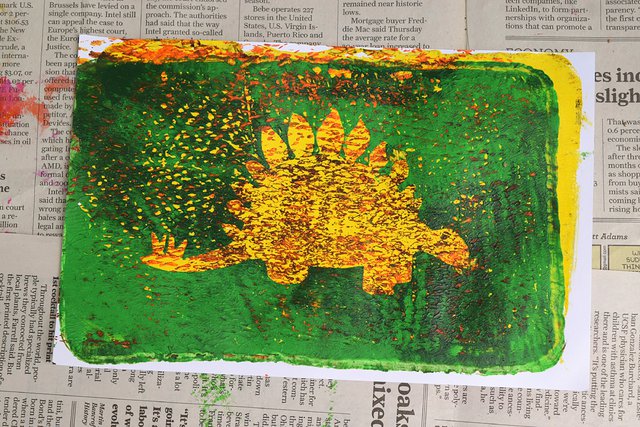
- Objects with interesting shapes (e.g. toilet roll, toy dinosaur feet)
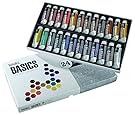
- Paint (acrylic or other water based paint)
- Stencils (either store-bought, hand-made from paper/card, or natural e.g. leaves, flowers)
- Textured objects (e.g. bubble wrap, corrugated cardboard, onion bag etc)
Instructions
- Finding a container. The gelatin plate is a thick slab of firm gelatin that you use as the "stamp" to make your prints. First you need to find a container with shallow sides (at least 1 inch) that has a flat bottom and is the approximate size of the prints you wish to make. I have found that approx 5x8 inches is a great size to start with kids as it is suitable for printing a half sheet of letter or A4 sized paper: this is an easy size for kids to handle, still gives good results and minimizes the amount of paint that gets used in the many experiments that are sure to ensue).
- Working out the volume of gelatin. Once you have your container, you need to determine what volume of gelatin you need to make up. To do this, add water to your container until it reaches a depth of 1/2 inch. Carefully pour the water into a measuring jug. To make an appropriate consistency of Gelatin, you will need to mix 2 heaping tablespoons gelatin to each cup of water (or 1/2 tablespoon gelatin to each 60ml water).
- Making the plate. Pour half of the water into a saucepan and bring to the boil. In the mean time, sprinkle the gelatin into the remaining cold water and stir to combine. Carefully add the hot water and stir until the gelatin is fully dissolved. Now, slowly, taking care not to splash the hot liquid, pour the gelatin into the container that you are going to use.
- Ensuring the plate is flat. It is important that the surface of the gelatin plate is completely smooth. To achieve this you need to remove all the bubbles that are on the surface of the gelatin. The first step is to use a spoon to carefully skim as many bubbles as you can off the surface (by dragging the spoon across the surface and thus moving to bubbles to the edge and then lifting them off). Try to get off as many as you can. Then take a piece of scrap paper (junk mail is perfect!), and drag it slowly across the surface of the water from one end of the container to the other.
- Setting the Gelatin. Carefully place the gelatin into a refrigerator taking care to ensure that it is on a level surface. Leave for at least an hour to set firm.
- Removing the Gelatin from the Pan. Taking a thin spatula or bread knive, carefully loosen around the edge of the gelatin. Now slowly ease the spatula under one corner of the gelatin. Taking great care, slowly lift until you can get your fingers of one hand and then the other hand underneath. Slowly and carefully so as not to break the gelatin, ease your hands slowly down the length of the gelatin until you have released it from the pan. If you wish to use straightaway, place on a tray or sheet of acrylic. If you want to store for later, cover in cling film / plastic wrap and return to the refrigerator.
- You are now ready to make prints! Yay!
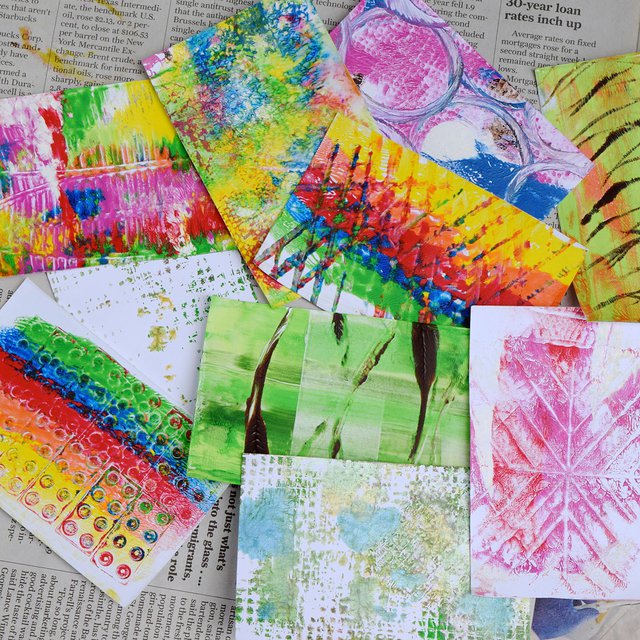
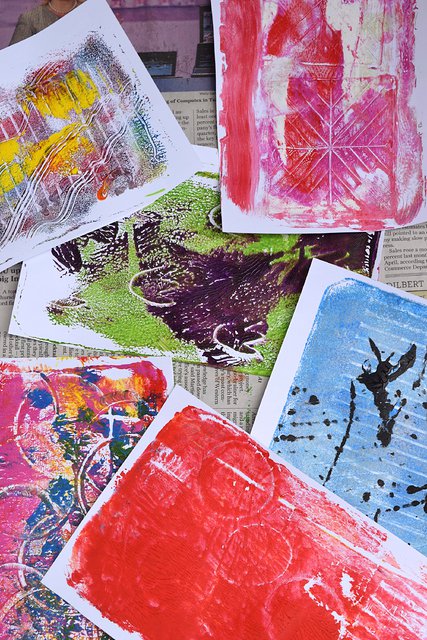
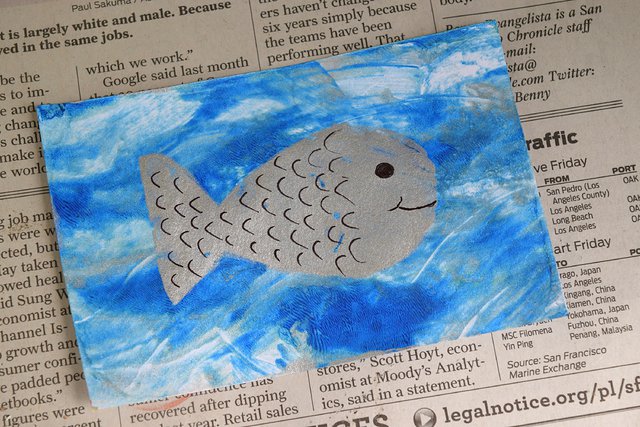
- Apply paint to the surface of the Gelatin. A great, easy way to do this is to put blobs of paint on the gelatin and then use a Brayer to roll the paint evenly over the surface. You can also use a mini sponge paint roller or a paintbrush.
- Now you can do one (or both) of the following: - Press textured objects onto the surface of the paint and remove (the object will leave an imprint in the paint) - Place a stencil on top of the paint
- Carefully place your paper on top of the plate. Smooth your hand all over the surface of the paper making sure that you do not move the paper around. Then carefully peal back to reveal your print.
- At this point you can stop. Or you can apply a new set of paint to the plate, and print on top of your first print to get a layered effect.
- To clean the plate, apply a small amount of water to the surface of the plate (using an eyedropper or a spray bottle works well) and gently wipe off the water / paint with a paper towel. Alternatively, place a clean sheet of newspaper on the plate, smooth over and lift. The excess paint will be lifted, repeat if necessary (I've found that this isn't as effective when working with kids who tend to use an excess of paint!)
Tips
- When painting the gelatin plate or applying objects, take care not to scratch, dent or tear the surface of the gelatin.
- You may want to put a layer of newspaper around the project area as this gets messy
- Fantastic videos, tips and instructions on making Gelatin Prints can be found on the website of artist Linda Germain. It is a great resource to explore before attempting this process for the first time: www.lindagermain.com
Reviews
✶✶✶✶✶
Not yet reviewed
Useful supplies
- our picks from Amazon for this project: